|
| Using the New Furnace at Winterfest Demo 2024 |
Last year I had a go at making a couple of furnaces. They worked well, and I learnt a lot, but there were a number of improvements needed. Last year's furnaces can be found here: Furnaces 2023 References can also be found at that link for the information mentioned here.
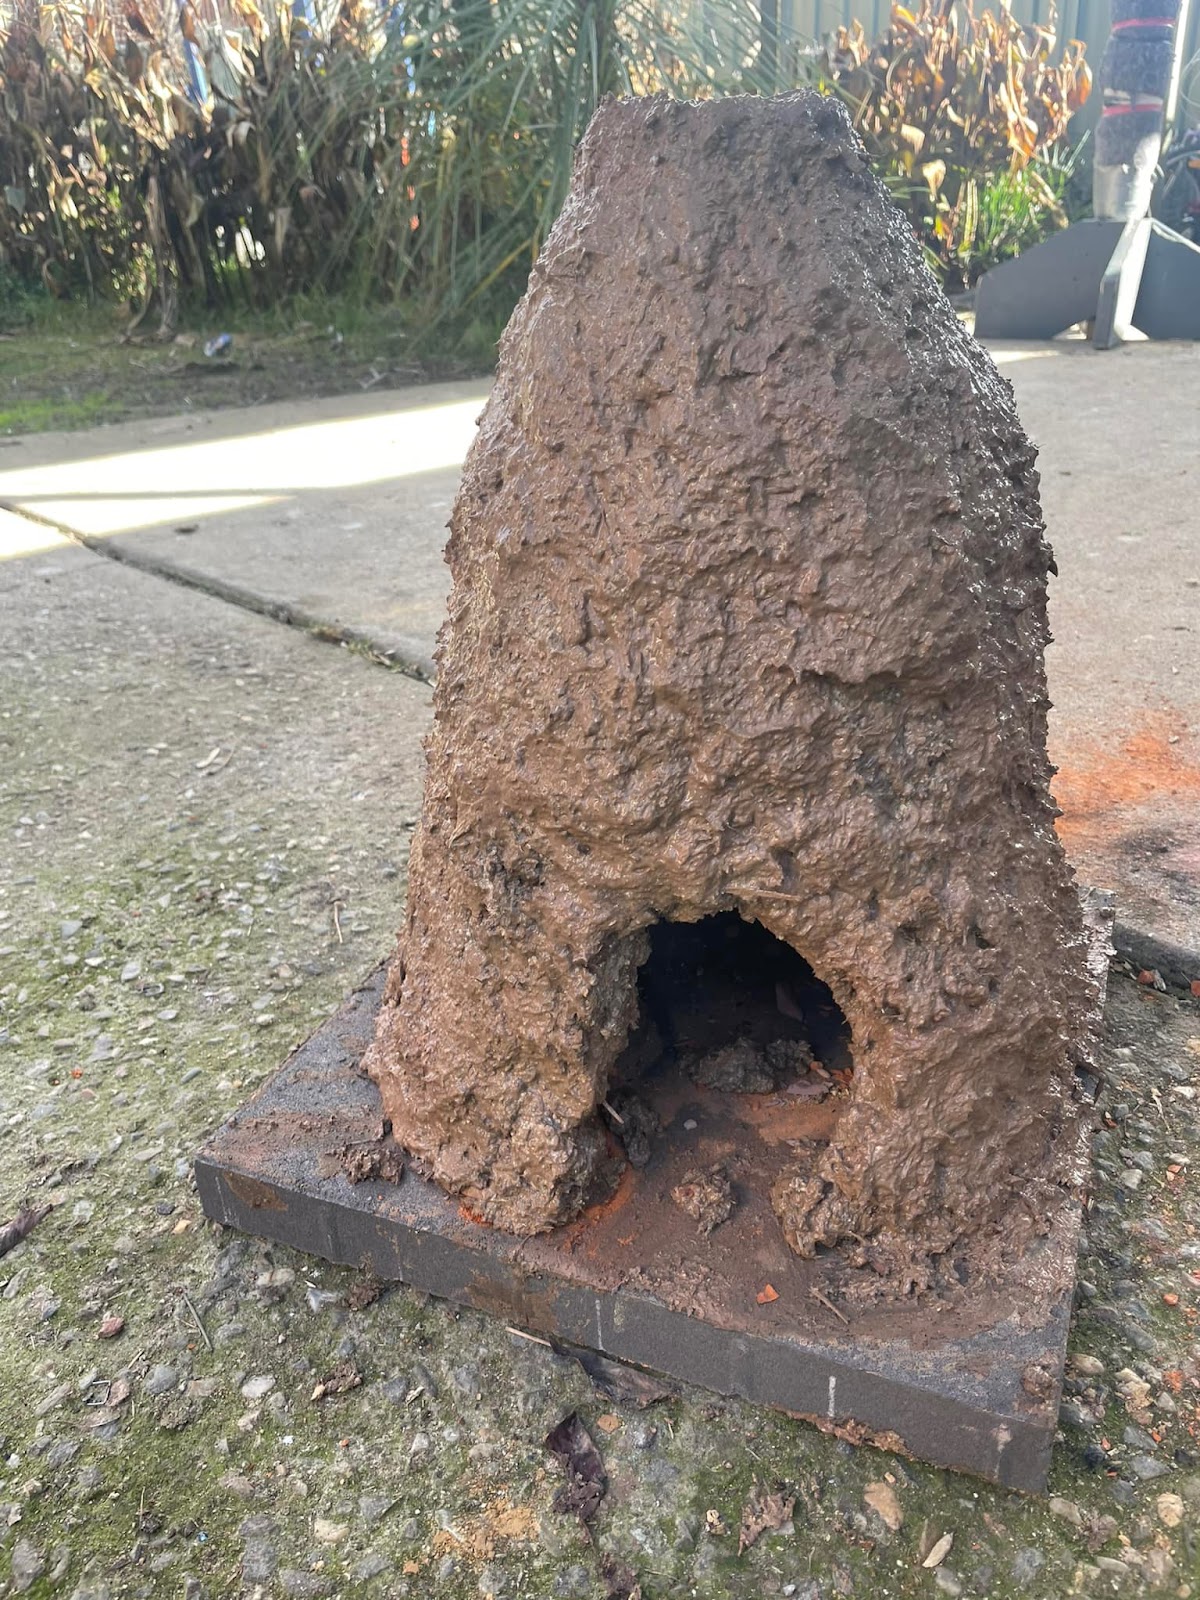
My goal when making these was not to use modern materials in the construction of the furnace. I also wanted a furnace which could be worked by a single person. It also needed to be portable, so that I could bring it pre fired to an event without having to wait a week or longer at the event itself.
I took it to Cold War 2023. The furnace met all these goals, though it broke when transporting home. I believe this was due to it getting wet at the event, and due to the composition used. The composition used was as follows; Slightly decomposed Horse Poo, Clay, Sand. I think I was too hasty and that the horse poo needed to decompose more. The idea is that the beadmaker would go and build their furnace near the river, using the materials there. The furnace would last a little while, but it was not a permanent build. The materials would have ample time to decompose though, so I decided to wait a year and try again with the same composition.
I think it produced a material that was far more binding, as the fibres had split more and were able to blend and knit together far more effectively. However I am also certain it was a bit caustic, and would urge caution and the use of gloves in handling the blend.
 |
| Much more broken down |
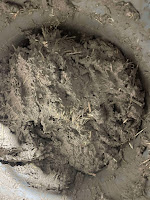 |
| More fibres |
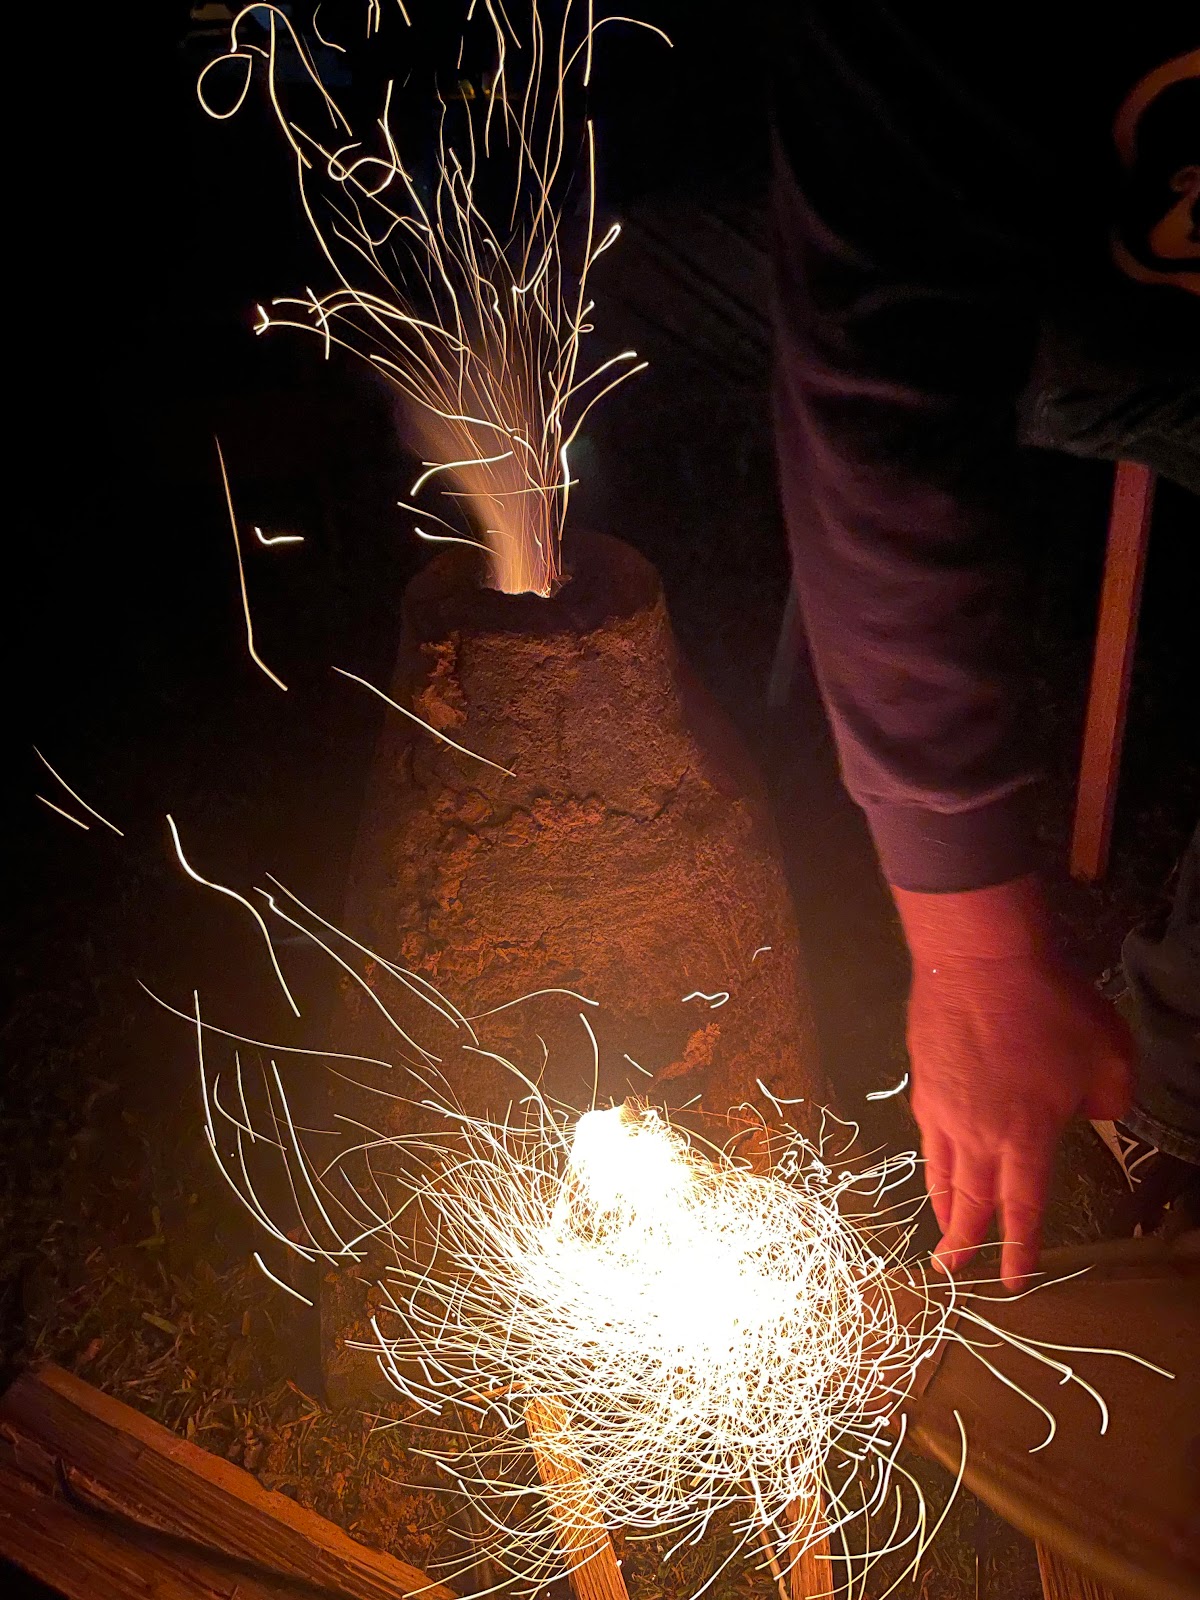
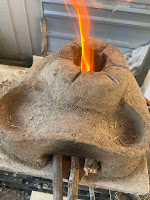
The original shape I used was modelled after the Ribe furnace. It was tall which allowed air flow to stoke the coals. I did not need a bellows to have the heat required to melt glass. The funnel allowed the heat to be centered at the top of the furnace which was a good point to melt glass, however I found that the best heat concentration was about 20 centimeters below the opening of the furnace. The shape of this furnace allowed me to use the survival fire method, which already primes the wood to have a good balance of air flow, producing high heat. It is not easy to move however, and whilst cracking is normal, the fault lines for this shape effectively cut it in half. You could fix this by making the walls twice as solid, but it would no longer be portable.
 |
| Making the walls more solid |
 |
| Building the shape up gradually |
I spoke to Master Sui before building a new furnace, with similar goals to the first. He provided some insights into why and how it is possible to create a furnace without the use of bellows, and spoke about his experience and best results with certain shapes of furnaces. He also suggested not filling the chamber full of fuel, but rather have it half in to allow better air flow, and higher temps.
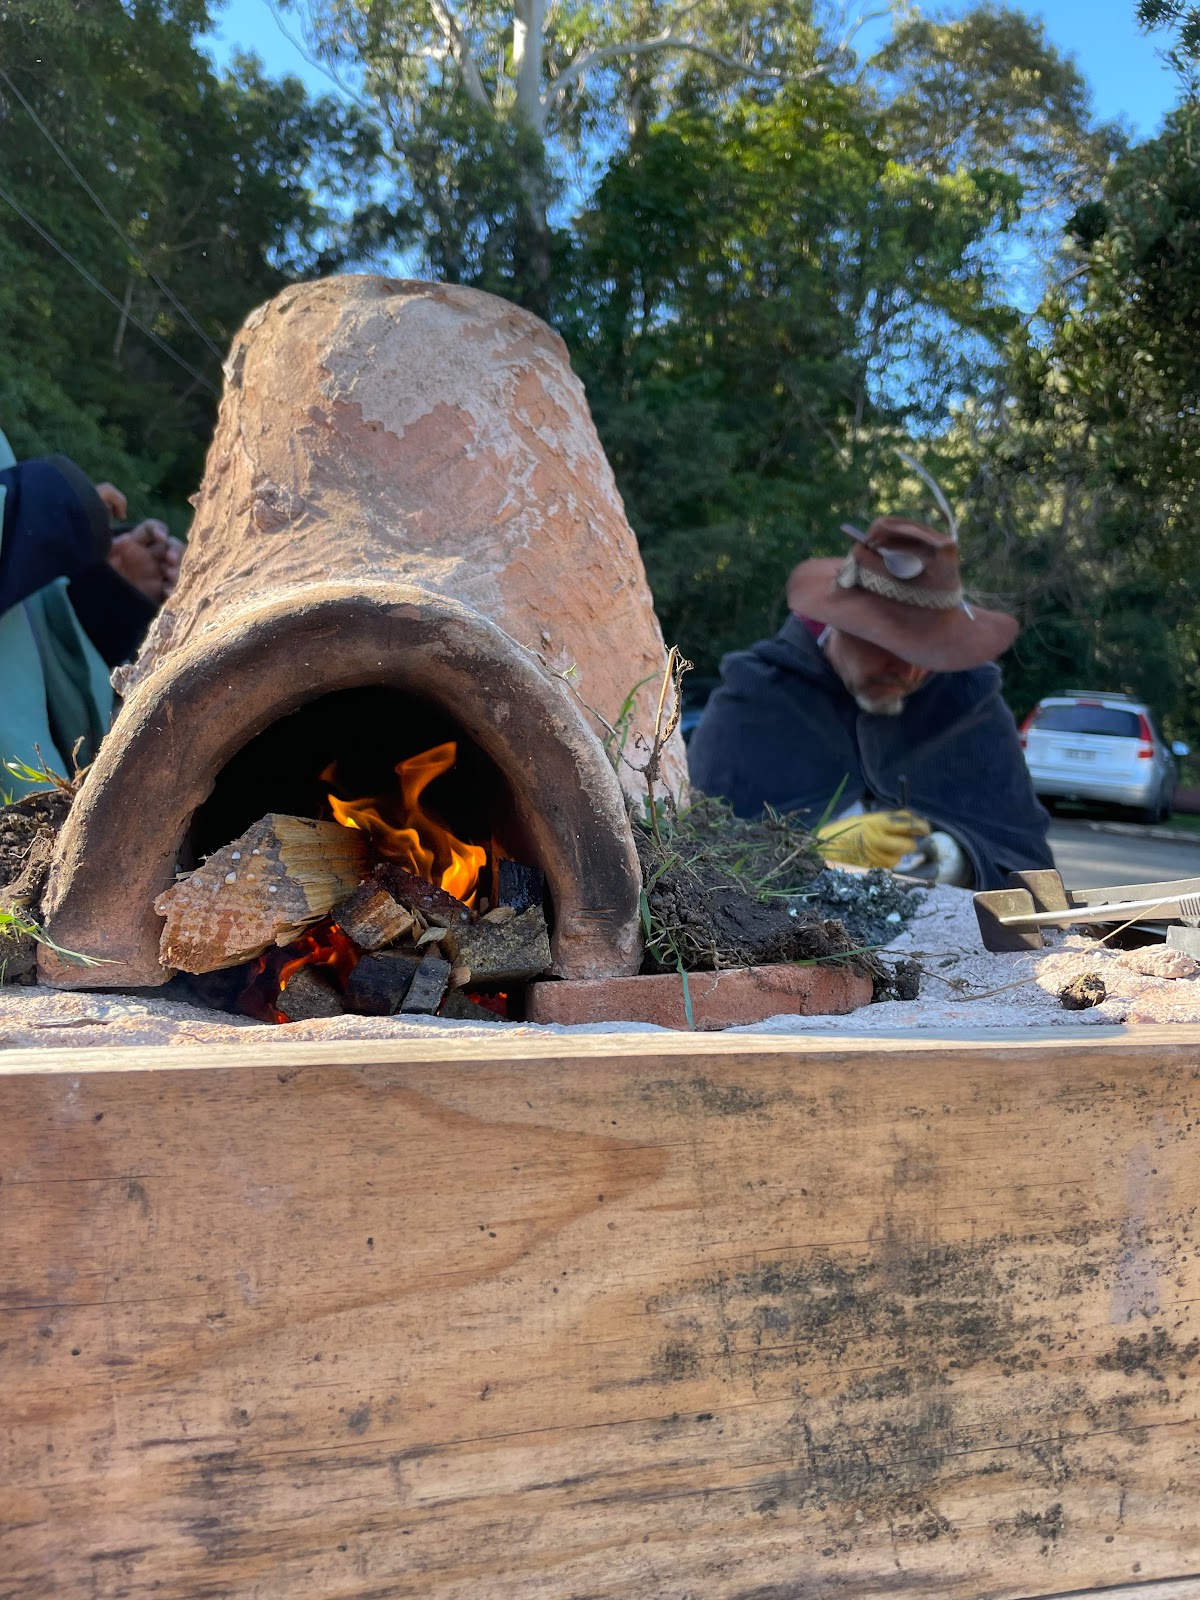
I used this information, combined with last year's research to make a shape that was logical, likely to be used and effective. Amusingly, as I took the furnace to a demo for Winterfest 2024 , most folk called it a pizza oven, which it sort of does resemble.
 |
| Annealling dishes on both sides |
 |
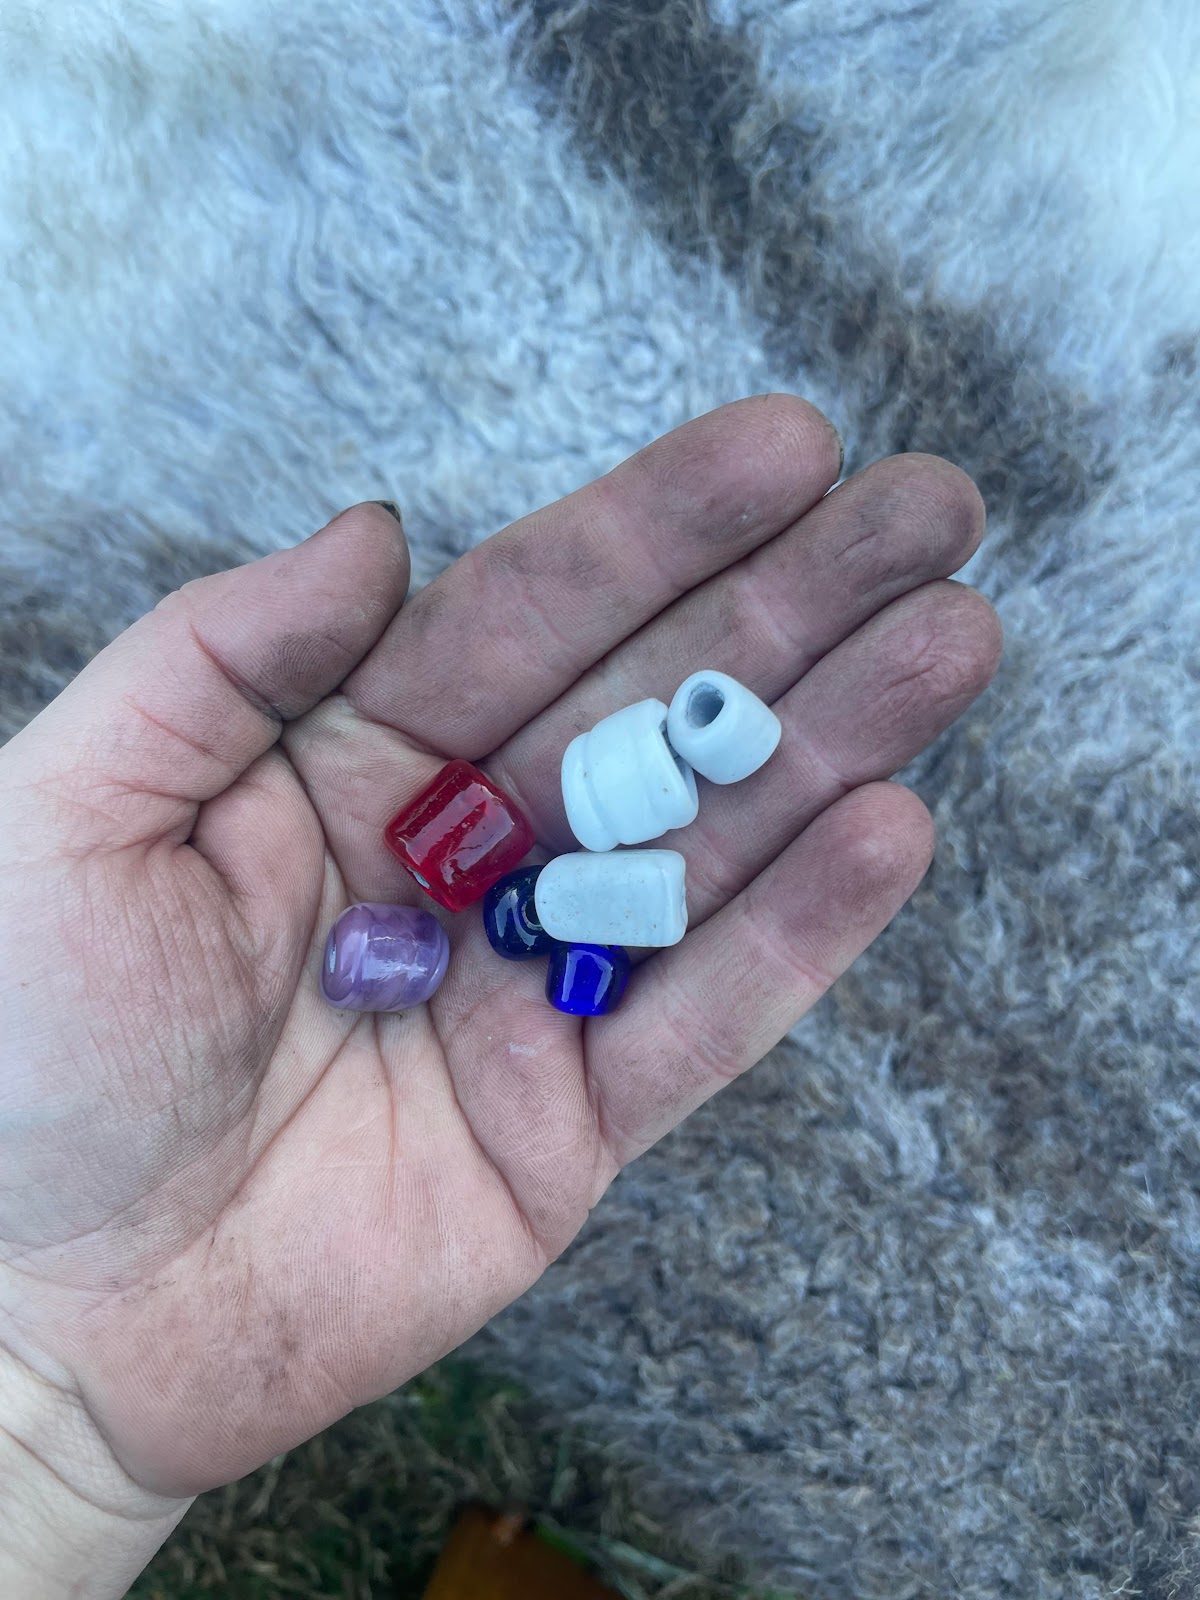
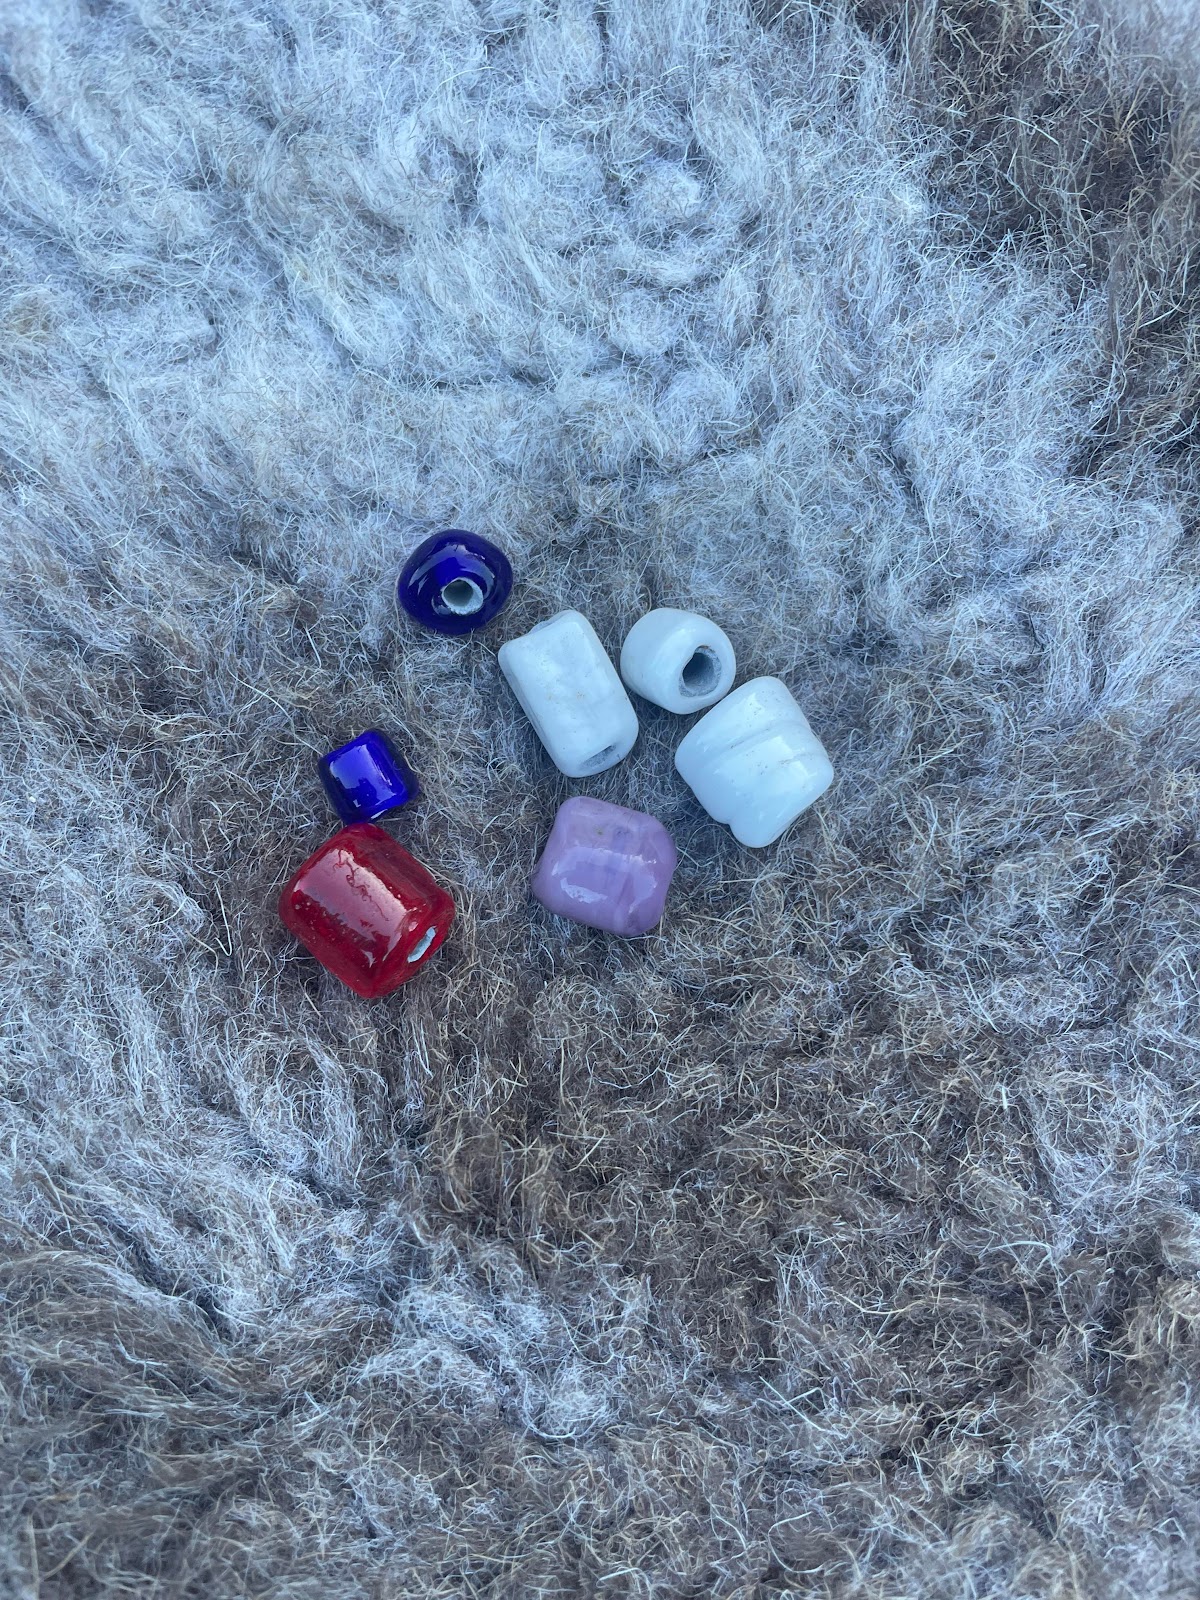
| I also added rod rests, though rods were not as popular as tesserae in period. |
Due in part to the composition of the furnaces, there are not many extant examples. However we do see examples through history and recent history of low tech furnaces based on knowledge and ways passed down the generations.
I used this to adapt my furnace slightly and add parts to anneal the beads. The process of allowing the glass to cool down slowly is important, and prevents the glass from shattering. There are a number of historical ways of doing this, having a clay pot near the fire being a common example.
As I was working on the shape of this furnace, I decided to build in the annealing dishes to the top of the furnace. It worked very effectively, being hot enough to help transistion the glass slowly, but not too hot or too cold.


The composition of the furnace, with waiting a year, and mixing the fibres a lot better, worked amazingly. I used river clay which I'm pretty sure made a difference as well.
The furnace was portable. It fired up well. However, despite having the furnace going all day, I didn't get constant functioning heat at the tempertatures I needed. I think the fuel source had a small part to play in this, but I also think it was simply too small.

Next time I will make it bigger, though I think it may no longer be portable at that stage.
I will also try another idea, which is to place it on a built fire, and have it act as a funnel. I think this may be quite effective, especially in trying to achieve a pre made furnace, with the flexibility of being able to travel to events.
Watch this space for that experiment.
Annealing: https://mo-sci.com/glass-101-glass-annealing/
Annealing: https://www.sciencedirect.com/science/article/abs/pii/S0379073811000107
Glassworking processes & properties [videorecording] / Corning Museum of Glass. Corning, N.Y.: Corning Museum of Glass, 2007. 1 videodisc ( min.) This educational video archive presents more than 40 short segments on the various techniques employed by glassworkers: including annealing. Commercially distributed.