
This post will contain a variety of information including the process of creating the furnaces, the materials and references used, the experience firing and using it , as well as information learnt through experimentation and discussing with others who have previously made these or something similar. I will continue to add to this post as I experiment.
I have been very intrigued by the furnace from Ribe, particularly the recreations done by Thomas Risom. This particular furnace uses the materials found by a riverbed. They are accessible and evidence of the techniques used in this heat receptacle can be found across time and cultures. The other aspect that I am fascinated by is that the shape of this particular volcano furnace allows for high heats, and manipulation by one person, without the need for bellows or others to tend to the fire. It is also small and portable which means I can bring it to events to teach. Amazingly it is also much quieter than modern set ups!
Amusingly, I subsequently found that the experience of working with others was far more enjoyable in good company than doing it solo anyway.
Concepts discovered/Explored
-After 5 hours the coals and the furnace itself were hot enough to get the heat required.
-Coals have been found in extant examples, rather than wood and that makes sense given the above information.
-There are some commonly used structures that produce high heats. Can I combine these with the furnace, to help my heat management? I found out about Swedish fire logs and "Survival/Scout fires. Both of these simply use wood, positioned carefully to create strong air flow. At Festival, we used a small survival/scout fire in camp and out of curiosity I got my glass making tools out. The heat was enough to melt glass. So my theory is, if I build this style within the furnace, not only is it plausible that this would have occured, but it may be effective as well.
-Swedish fire log: https://www.freshoffthegrid.com/swedish-fire-log/
-Scout fire: https://www.fieldandstream.com/articles/survival/fire/2011/01/build-bad-weather-fire/
Materials used:
-Slightly decomposed Horse Poo
-Clay
-Sand
-Hardened clay pot to be removed, instead of willow branch as the structure base.
The Process:
 |
Attempt One |
This furnace produced a fair amount of heat. I used barely any fibers and sediment however, and the next day it promptly cracked. It was too thin, and had too much clay.
 |
| Attempt Two |
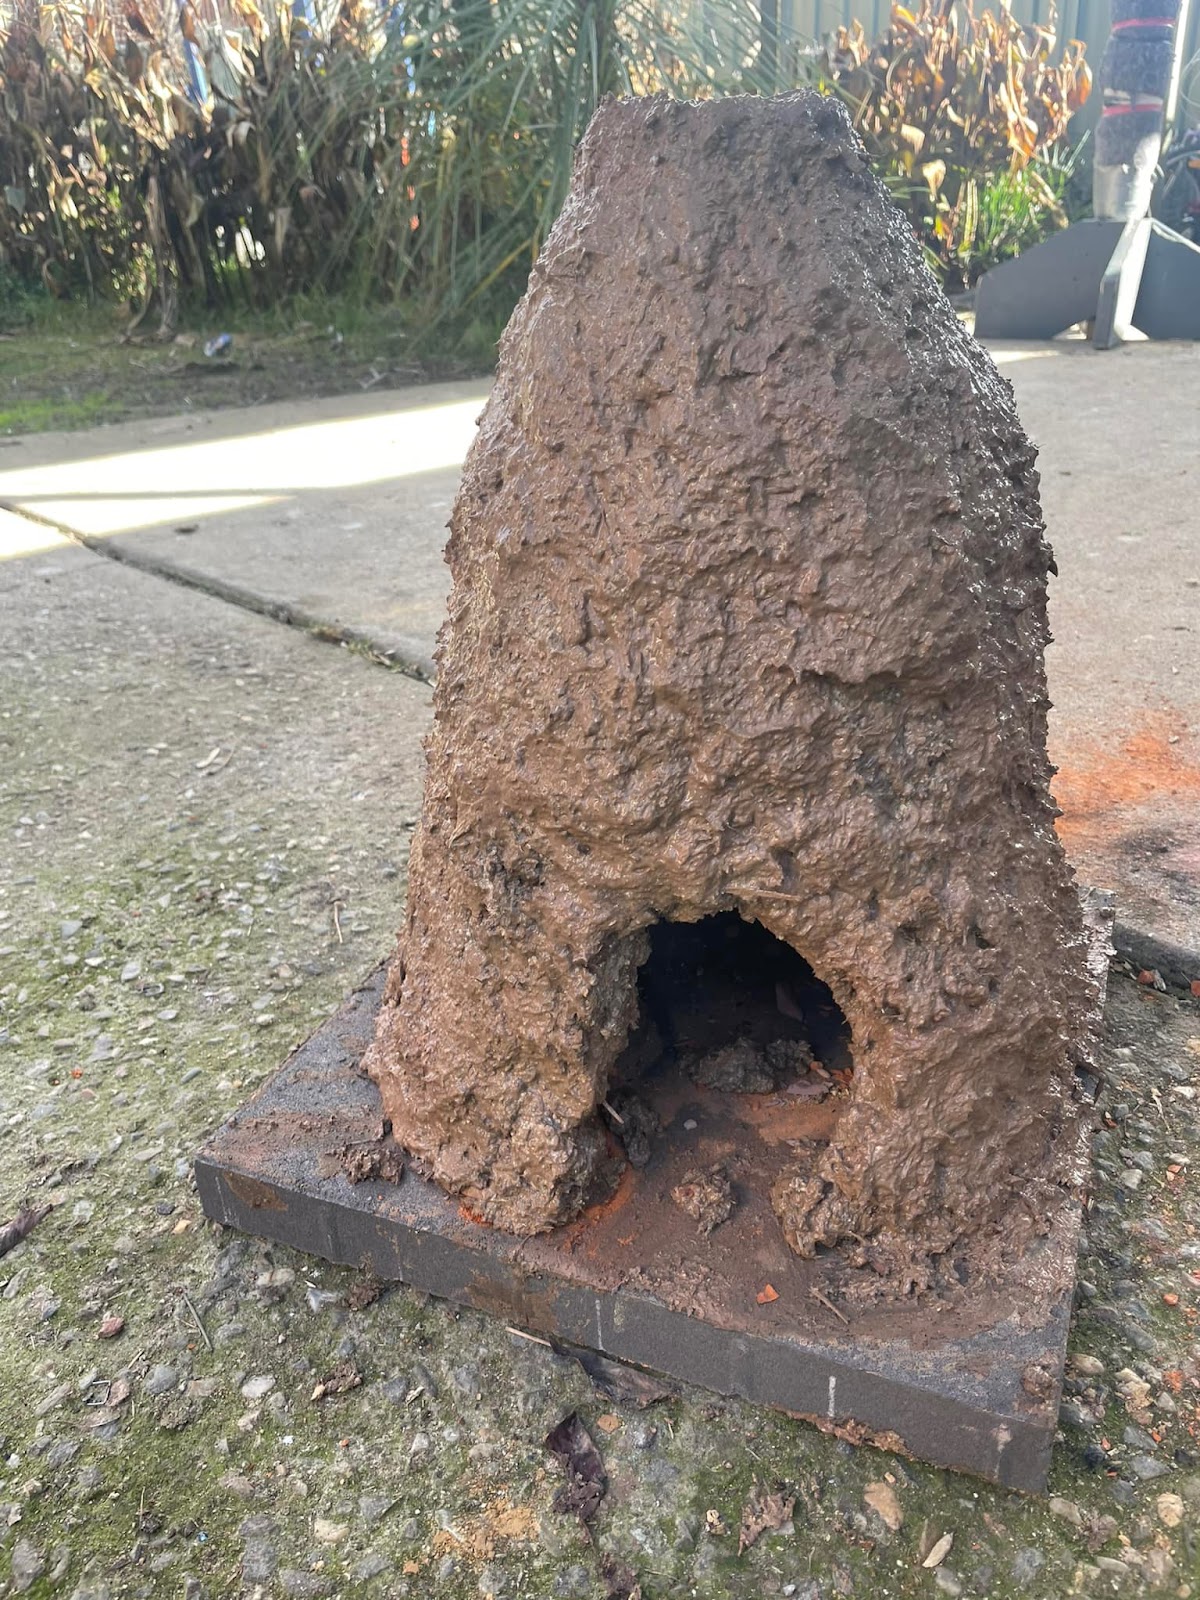
This furnace construction involved far more clay and sediment, including horse poo for fibers.This is when it was wet. I have placed it on a large cement tile that can be used to transport it.
 |
Composition |
A close up of the composition of the furnace. After discussions with Master Owen, it was clear that my original theory of adding more hay was not the way to go. More fibres was, and it looks much more solid now.
 Attempt Two |
This is the furnace when it was dry. I drove this about 300 km for an event.With careful packaging it survived the drive and was used successfully to create a couple of beads. Unfortunately the winds were so strong that we made the decision to move it after we had fired it. Sadly, I had not been able to contain my patience during the week, and it hadn't really gone a proper week of drying and it didn't have enough fibres. As a result, it cracked when moved, the dry parts moving against the rest and falling apart.
 |
Melting Goodness |
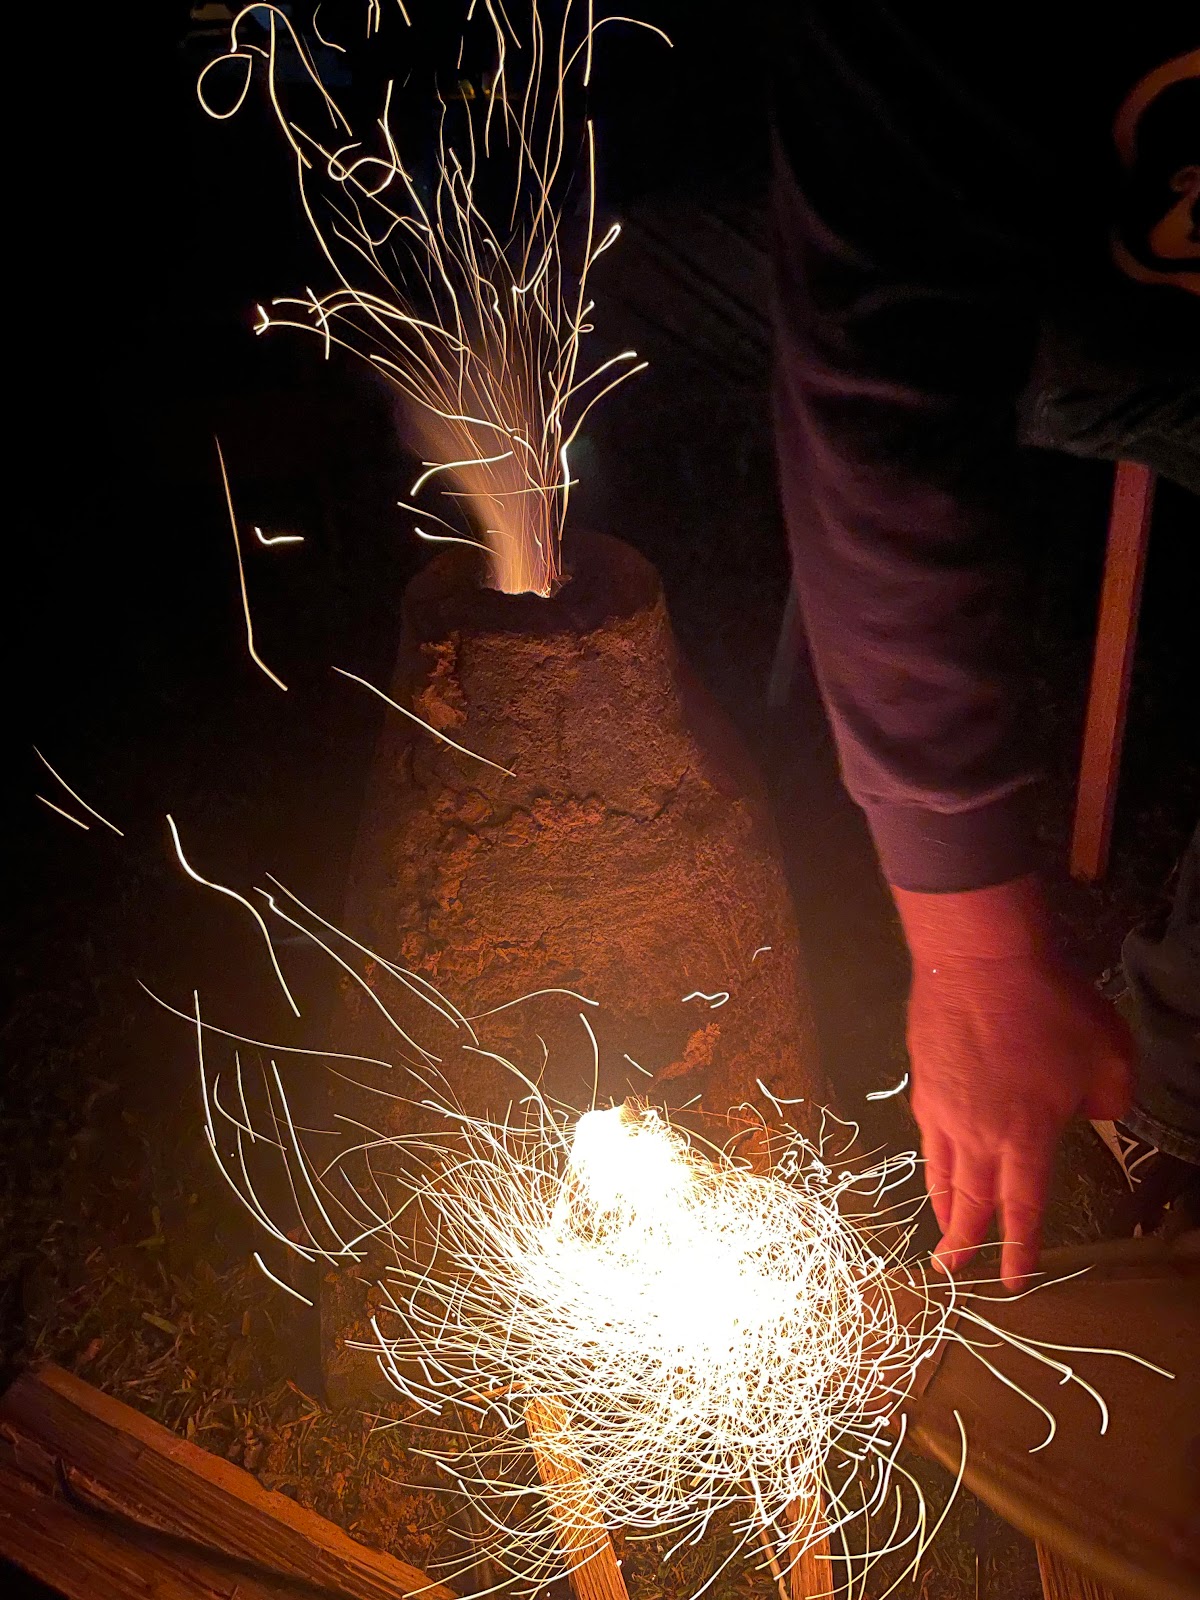 | ||
Lit up
|

 |
Attempt Three |
Attempt Three (and Four) involved crushing Attempt Two back down, and mixing far more fibres into the mix. I experimented with more diverse fibers that they would have had access to at the time, such as linen, wood dust and hay. As I was doing this, I ended up with a lot more materials than I had previously, so I decided to experiment with a smaller version. Firstly I was curious as to how much heat a smaller version could create, and secondly, I have seen extant examples where the volcano furnace had a carved rock as an extra layer at the top, or something that seemed like a second smaller furnace on top, and I want to see how that affects heat management if I place it on top.
 |
Attempt Four |
The mini version. I am curious to see if this might work, or not. It's small and has less air flow which makes me think it might crack, or not get hot enough. However it may also be quite effective on top of my furnace.
 |
Attempt Three |
After three days of drying, adding sand externally and patting down to remove bubbles and less dense spots. It is drying well , even in the cold Canberra weather, and I hope to fire it up after a week or so.
 |
Attempt Three- Embellishments |
After using a number of different furnaces, medieval and modern I have reached certain conclusions. One being, that if you did this over time and repeatedly, you would make changes to make your life nicer or easier. The indents I have added are places to rest my tools and glass.

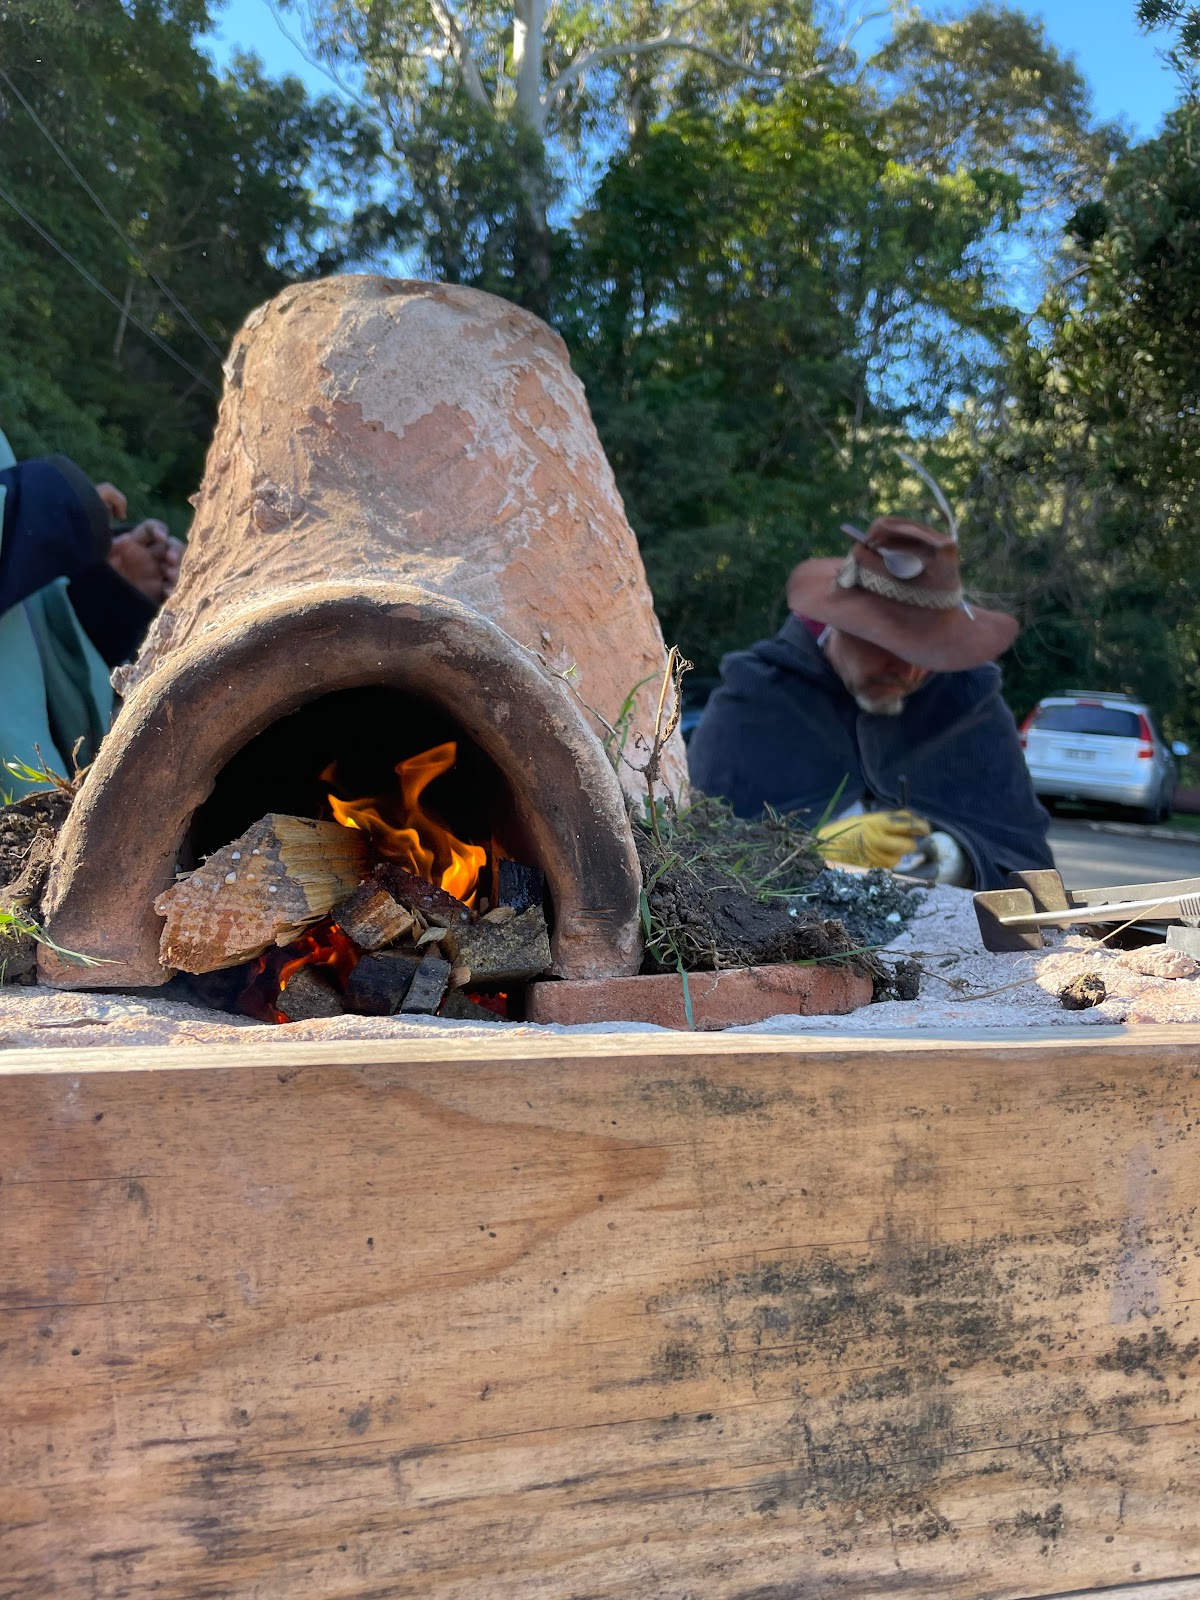
This was one of my earlier attempts, which produced some beads. The heat was intense enough about 5 hours in.
I didn't schedule any official classes at Cold War as I wanted to participate in War but also teach organically without a schedule. This worked amazingly in the Bjornhird Makers' Space, as people came in as we worked and asked questions or observed. After some safety briefings, a couple of very interested folk were able to make some beads over the furnace and take them home. I love sharing the joy of glass beadmaking. It's a lot harder than it looks, but the end result is super satisfying!
This was very successful, particularly after the coals had been going for about 5 hours.
After the heat became workable, each bead became easier and easier. The consistency in the bead was on par with the use of modern methods, and adaptation to the particularities of the medieval flame was easy to grasp with some practice.
Ginevra/Gyda Glassmaking
 |
Ginevra/Gyda Glassmaking/Teaching |
 |
Using Master Owen/Sui's Furnace |
 |
This is a dirty hobby! |
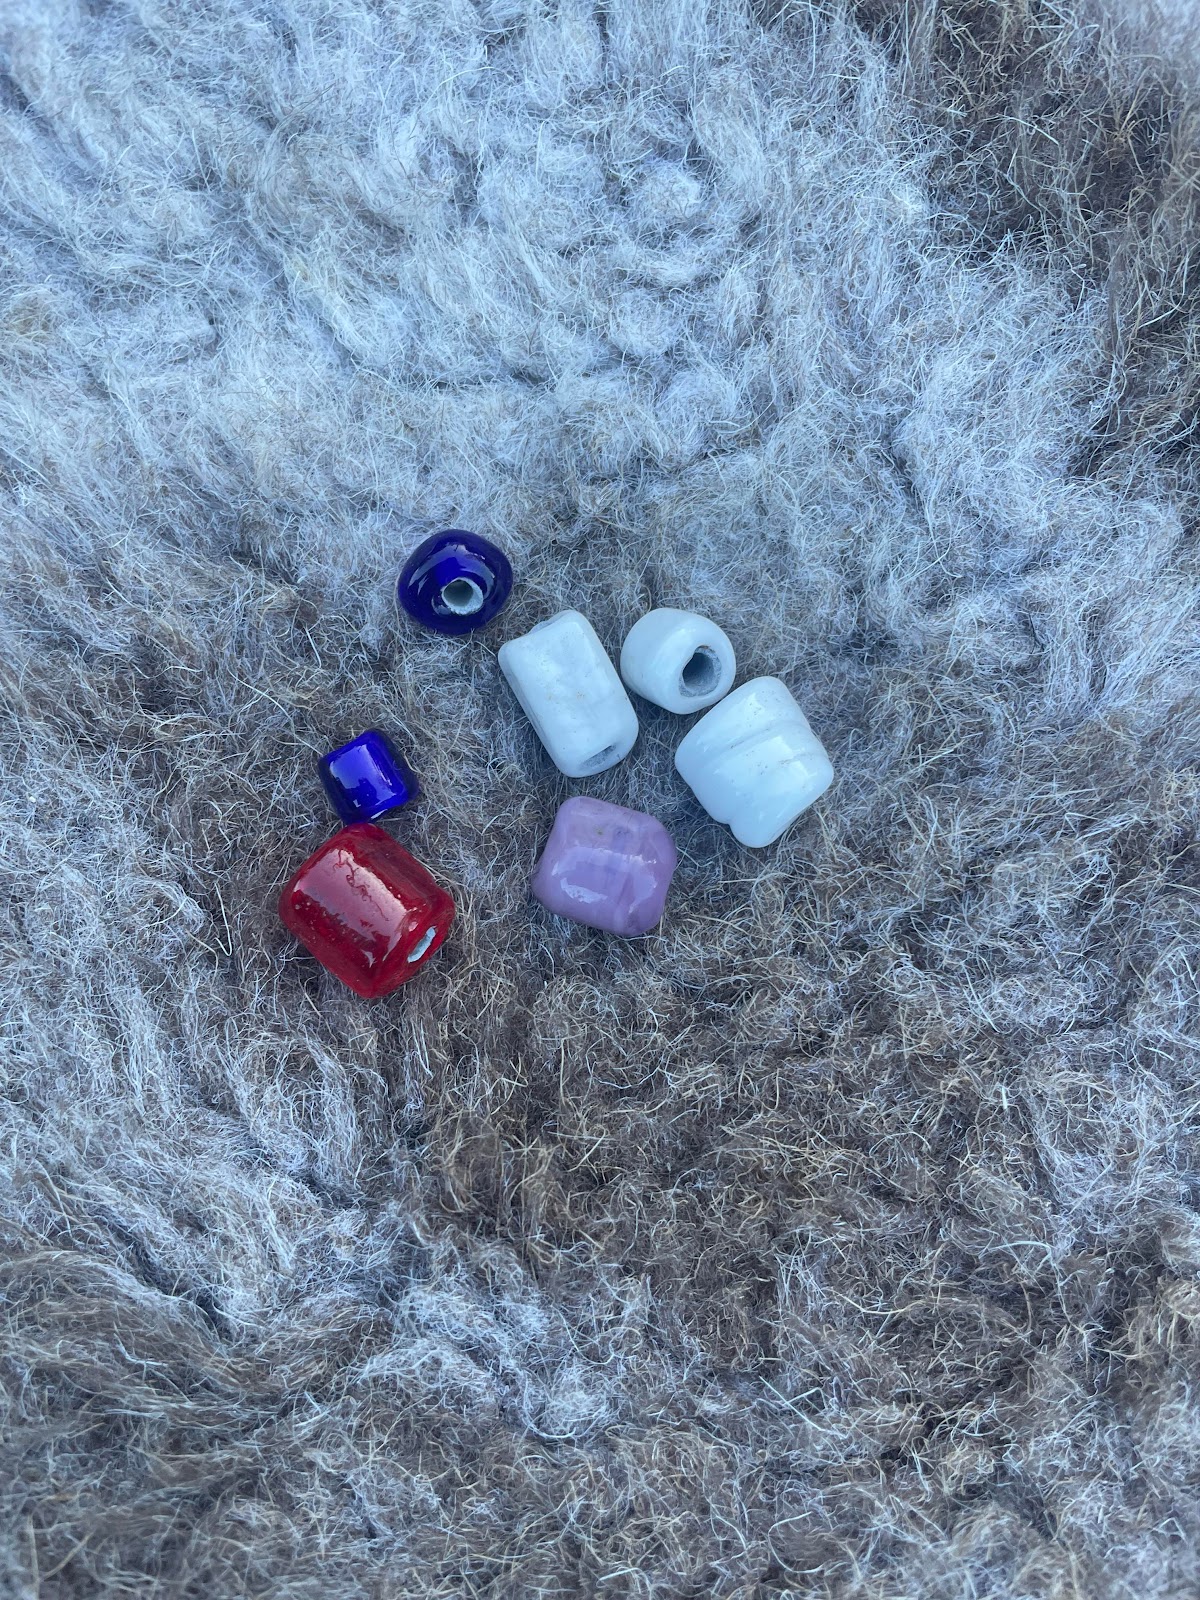 |
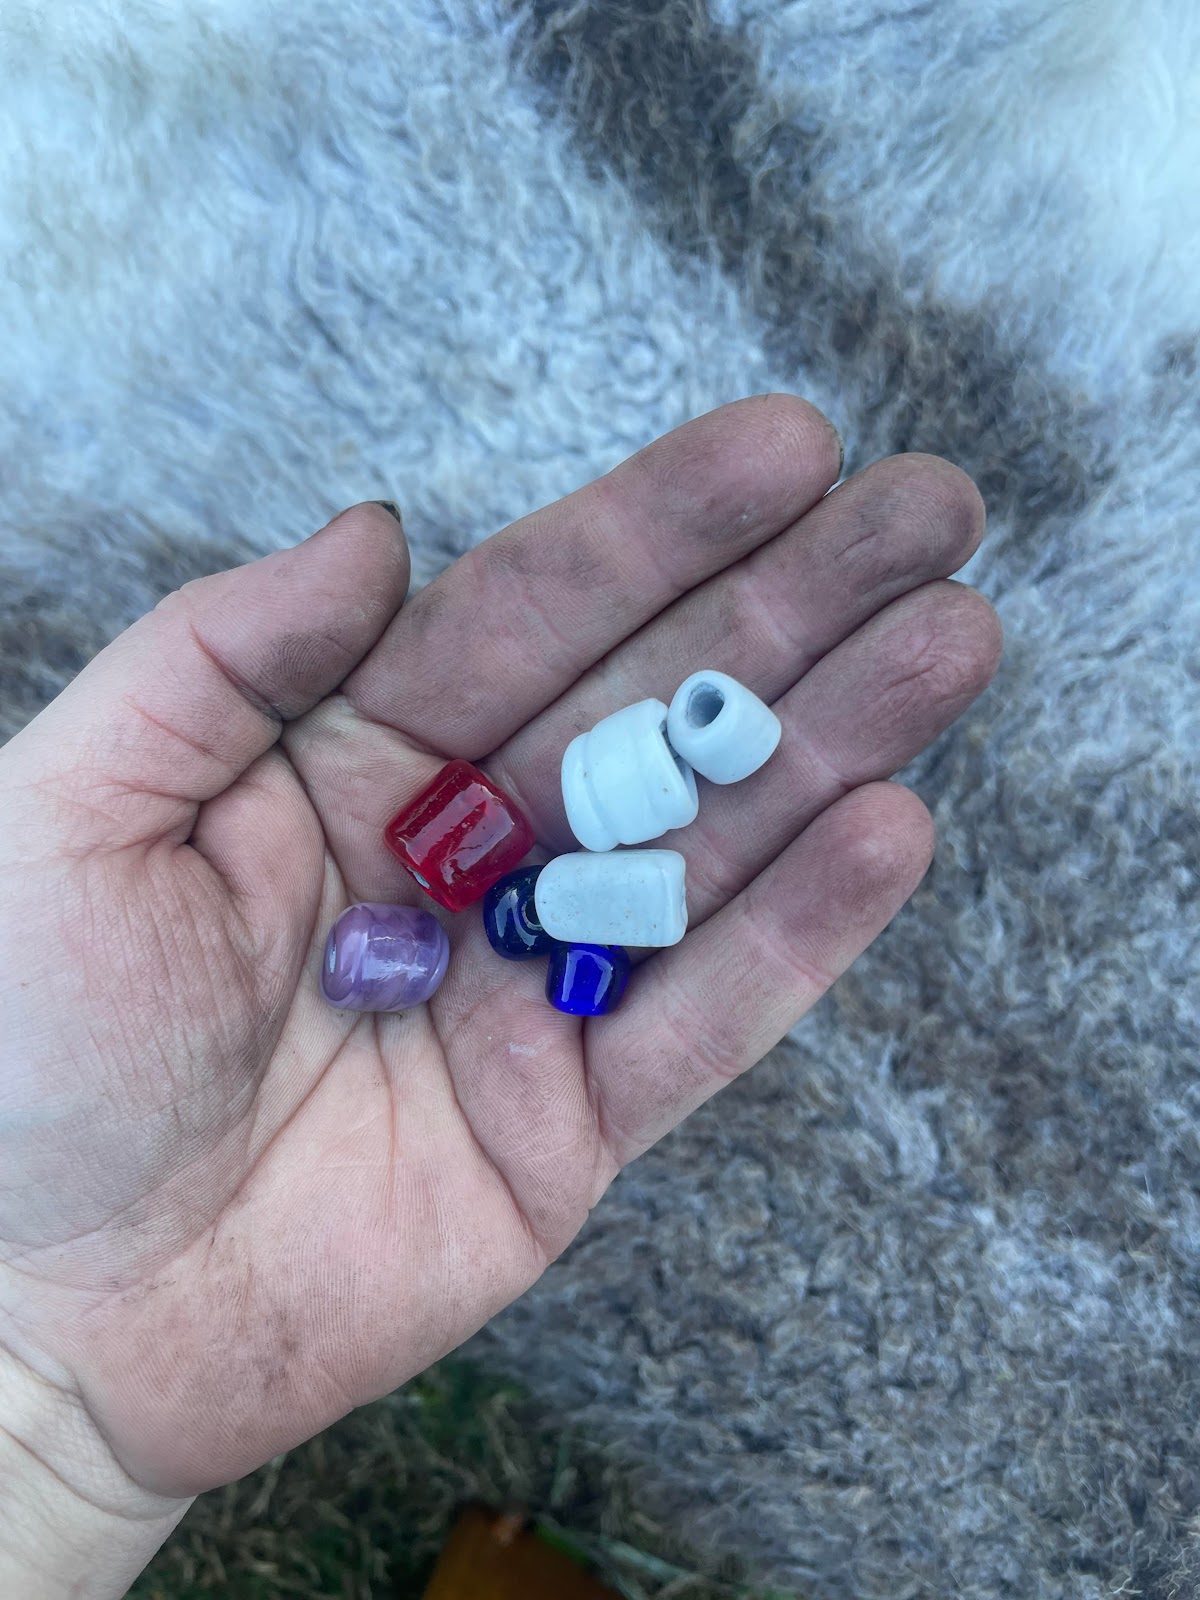
Some of the glass beads that were made |
After the heat became workable, each bead became easier and easier. The consistency in the bead was on par with the use of modern methods, and adaptation to the particularities of the medieval flame was easy to grasp with some practice.
Relevant Information:
"In its raw form, glass can be easily worked in a number of ways. Experimentally we have found that it can be directly worked into beads. Using a crucible such as those found at Paviken and Helgo
the raw material can be melted. By reaching into the crucible with a pair of tweezers and slowly drawing the tweezers back a rod of glass can be drawn from the liquid glass. Varying the speed of the draw will change the size of the rod produced. In the archaeological record this produces small lumps of glass with tweezer marks and small stubs of rods attached. These rods can be used to directly create beads in a style strongly related to modern lampworking techniques."
-Glass on Fire
"At Ribe, at least six hearths associated with bead production debris were uncovered.Hearth ÆZ is roughly oval at 53x23 cm. QA is a round lens shaped hearth approximately 50 cm in diameter. The remaining hearths are less well defined. UN is roughly rectangular. UR is irregular in outline.
Bencard et al define these hearths as being of a clay construction but the long section of hearth ÆZ
appears more consistent with a cob construction. Cob has been defined as “a material for walls, made from compressed earth, clay, or chalk reinforced with straw”
-Ribe Excavations
"They are generally rebuilt in the same place after completely demolishing the earlier ones. This results in an abundance of fired-clay fragments with
glass spillage, clay pots, clay plates, arm rings, broken crucibles with a glass layer,
and bricks and other debitage littered around the glassworks."
-Glass Beads in Ancient India
"Furnace designs changed over time but there
were basically two types: tank furnaces and
pot furnaces. Tank furnaces were built with an
integral tank to contain the molten glass. There
is some evidence for smaller tank furnaces being
used in the Roman period in Britain to melt glass
for shaping (Shepherd and Wardle 2009) and a
number of good examples of tank furnaces used
for glass making from the late 19th century"
-Archaeological Evidence
for Glassworking
 |
Volcano Furnace reconstruction from Risom 2013 |
 |
Science Direct. Beadmakers in Egypt |
 |
Fired Clay: Evidence of glass making furnaces. Image: © Amgueddfa Cymru - National Museum Wales |
Furnace Links:
-Thomas Risom: The Bead Maker from Ribe
-https://historicengland.org.uk/images-books/publications/iha-glassworks/heag236-medieval-and-early-post-medieval-glassworks/
-https://www.academia.edu/15486278/Glass_on_Fire_Temperatures_in_reconstructed_Viking_Era_bead_furnaces_in_Can_These_Bones_Come_to_Life_Insights_from_Reconstruction_Reenactment_and_Re_creation_Vol_II
-https://www.cmog.org/article/about-medieval-glass
-https://www.researchgate.net/publication/354986153_BEAD_FURNACES_IN_ANGLO-SAXON_BRITAIN_An_investigation_into_the_likely_sources_of_heat_used_by_beadmakers_in_the_5th_to_7th_centuries_CE
-https://www.researchgate.net/publication/339178110_ANGLO-SAXON_GLASS_BEADMAKERS
-https://exarc.net/keywords/bead
-https://www.archaeology.org/news/10877-221005-ribe-bead-workshop
-https://www.sciencedirect.com/science/article/abs/pii/S2352409X20302790
- Mogens Bencard and Helge Brinch Madsen, Ribe Excavations 1970-1976 Volume 4 (Højbjerg: Jutland Archaeology Society, 1990)
-Heaser, Sue. (2022). BEAD FURNACES IN ANGLO-SAXON BRITAIN An investigation into the likely sources of heat used by beadmakers in the 5th to 7th centuries CE.
-https://museum.wales/collections/online/object/8b8d8c64-392e-3d90-b4e7-ec28749a67c4/Early-Medieval-fired-clay-furnace-lining/?field0=string&value0=finds&field1=with_images&value1=on&page=4
-Glass Beads in Ancient India and
Furnace- Wound Beads at Purdalpur:
An Ethnoarchaeological Approach. https://core.ac.uk/download/pdf/5105475.pdf
-https://historicengland.org.uk/images-books/publications/glassworkingguidelines/heag259-archaeological-evidence-for-glassworking/